Devices
The devices settings section allows you to configure devices that you may have connected to the Open mSupply system.
Viewing the device settings🔗
To view the display settings, go to Settings in the lower section of the navigation panel:

You will see the list of settings sections:
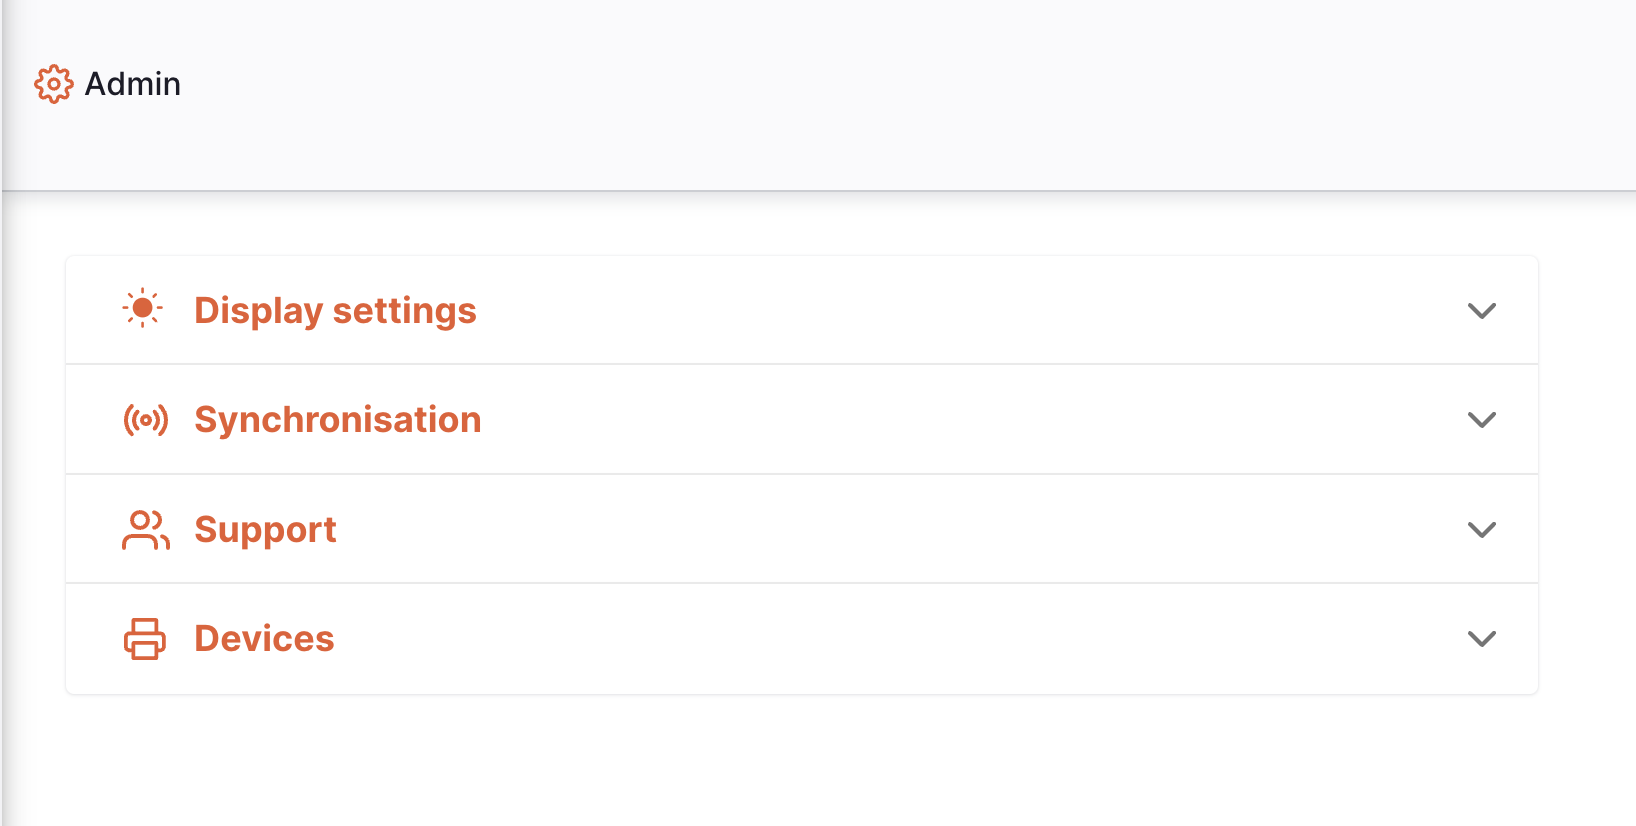
Click on the Devices section to begin.
Access server administration permission, as noted in the Permissions pageLabel Printing🔗
The label printing functionality is in an experimental state currently. There is limited support for label printers using the ZPL printer language.
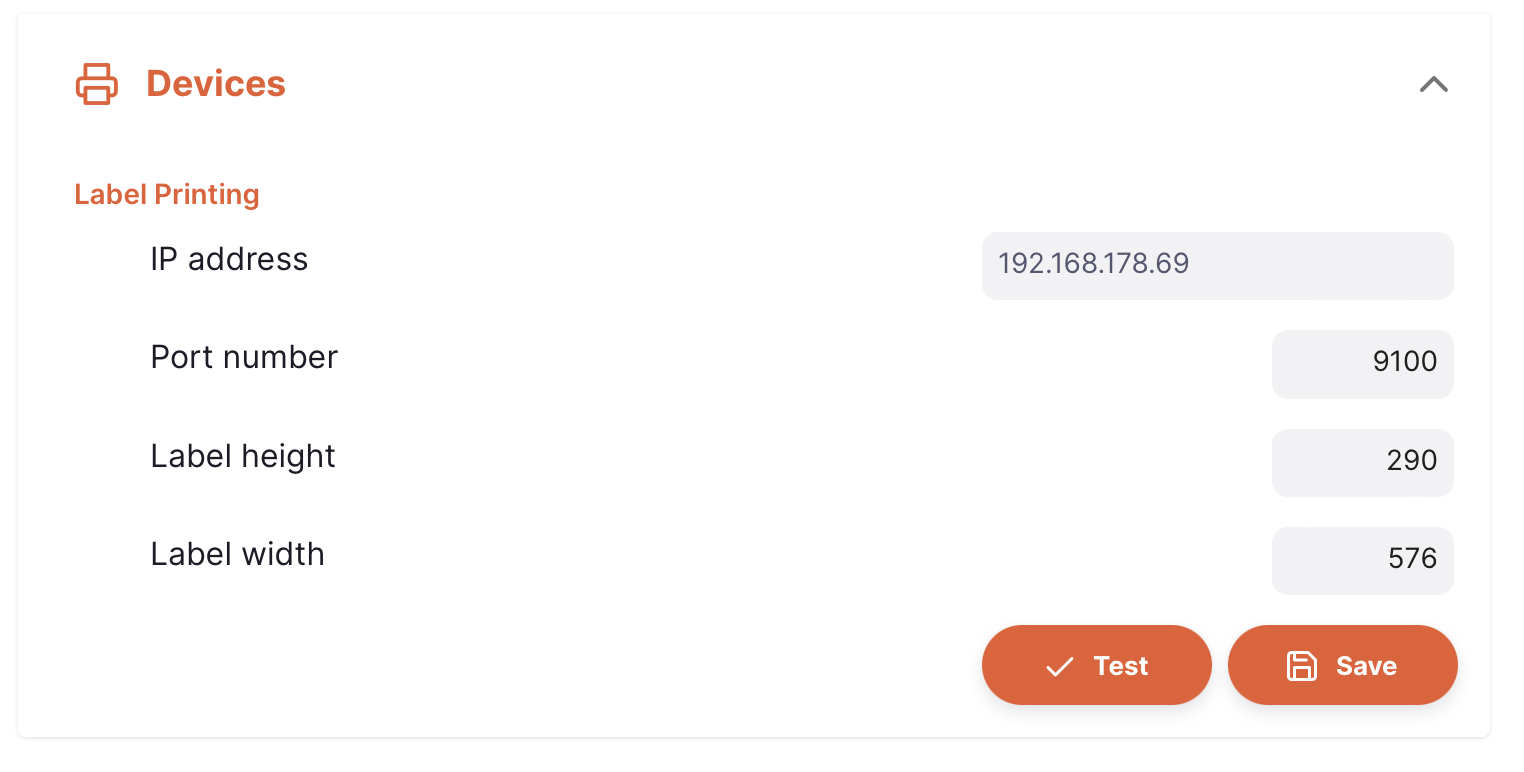
Printing via Network🔗
Enter the IP address and other details of the printer. Click Save to save the details. Once saved, you can click the Test button to attempt to connect to the printer and fetch its configuration.
Printing via USB🔗
To print via USB, install Zebra Browser Print. Visit Zebra's Browser Print page and download the version for your operating system (Windows or Mac). USB printing is not supported on Android.
Once installed, visit Zebra's documentation page and follow the set up guide.
Return to the settings page and turn on the Print via USB switch to enable USB printing.
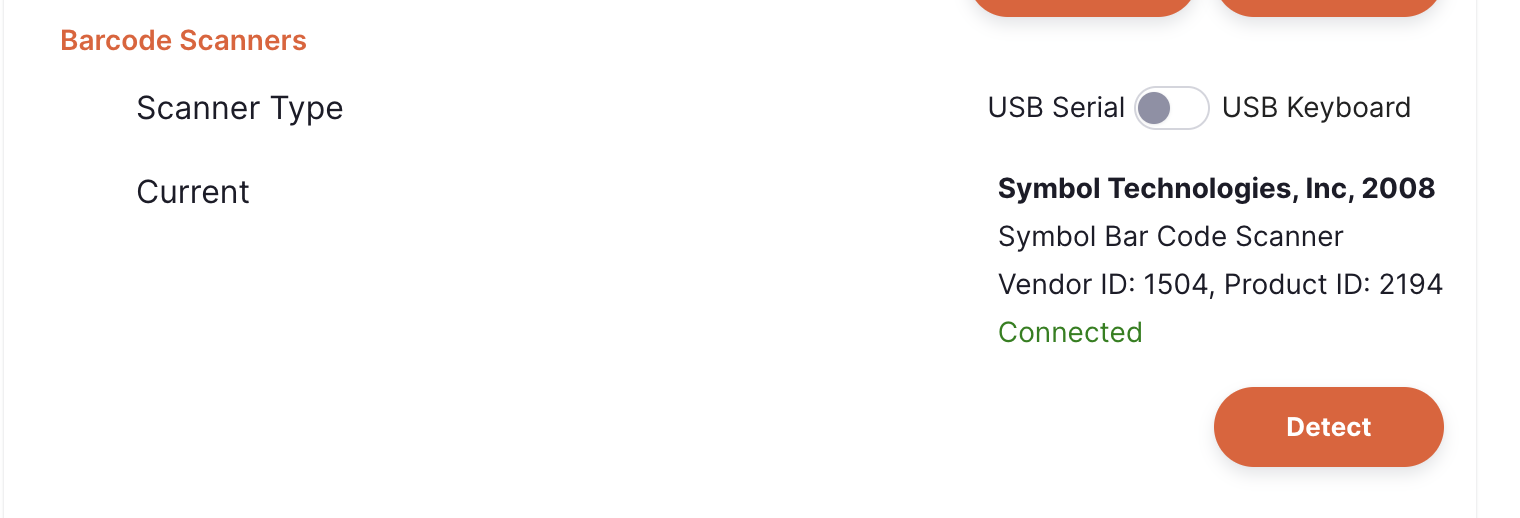
Barcode Scanners🔗
This section allows you to configure a USB barcode scanner for use with Open mSupply desktop.
If you are using the android application you are able to scan barcodes using the device's camera and this configuration section is not relevant.
We support serial-mode and keyboard-mode scanners. The preference is serial scanners which we have found to be more reliable. The Zebra DS-22 is the recommended model.
On opening the barcode scanners section you may see the message Not connected:
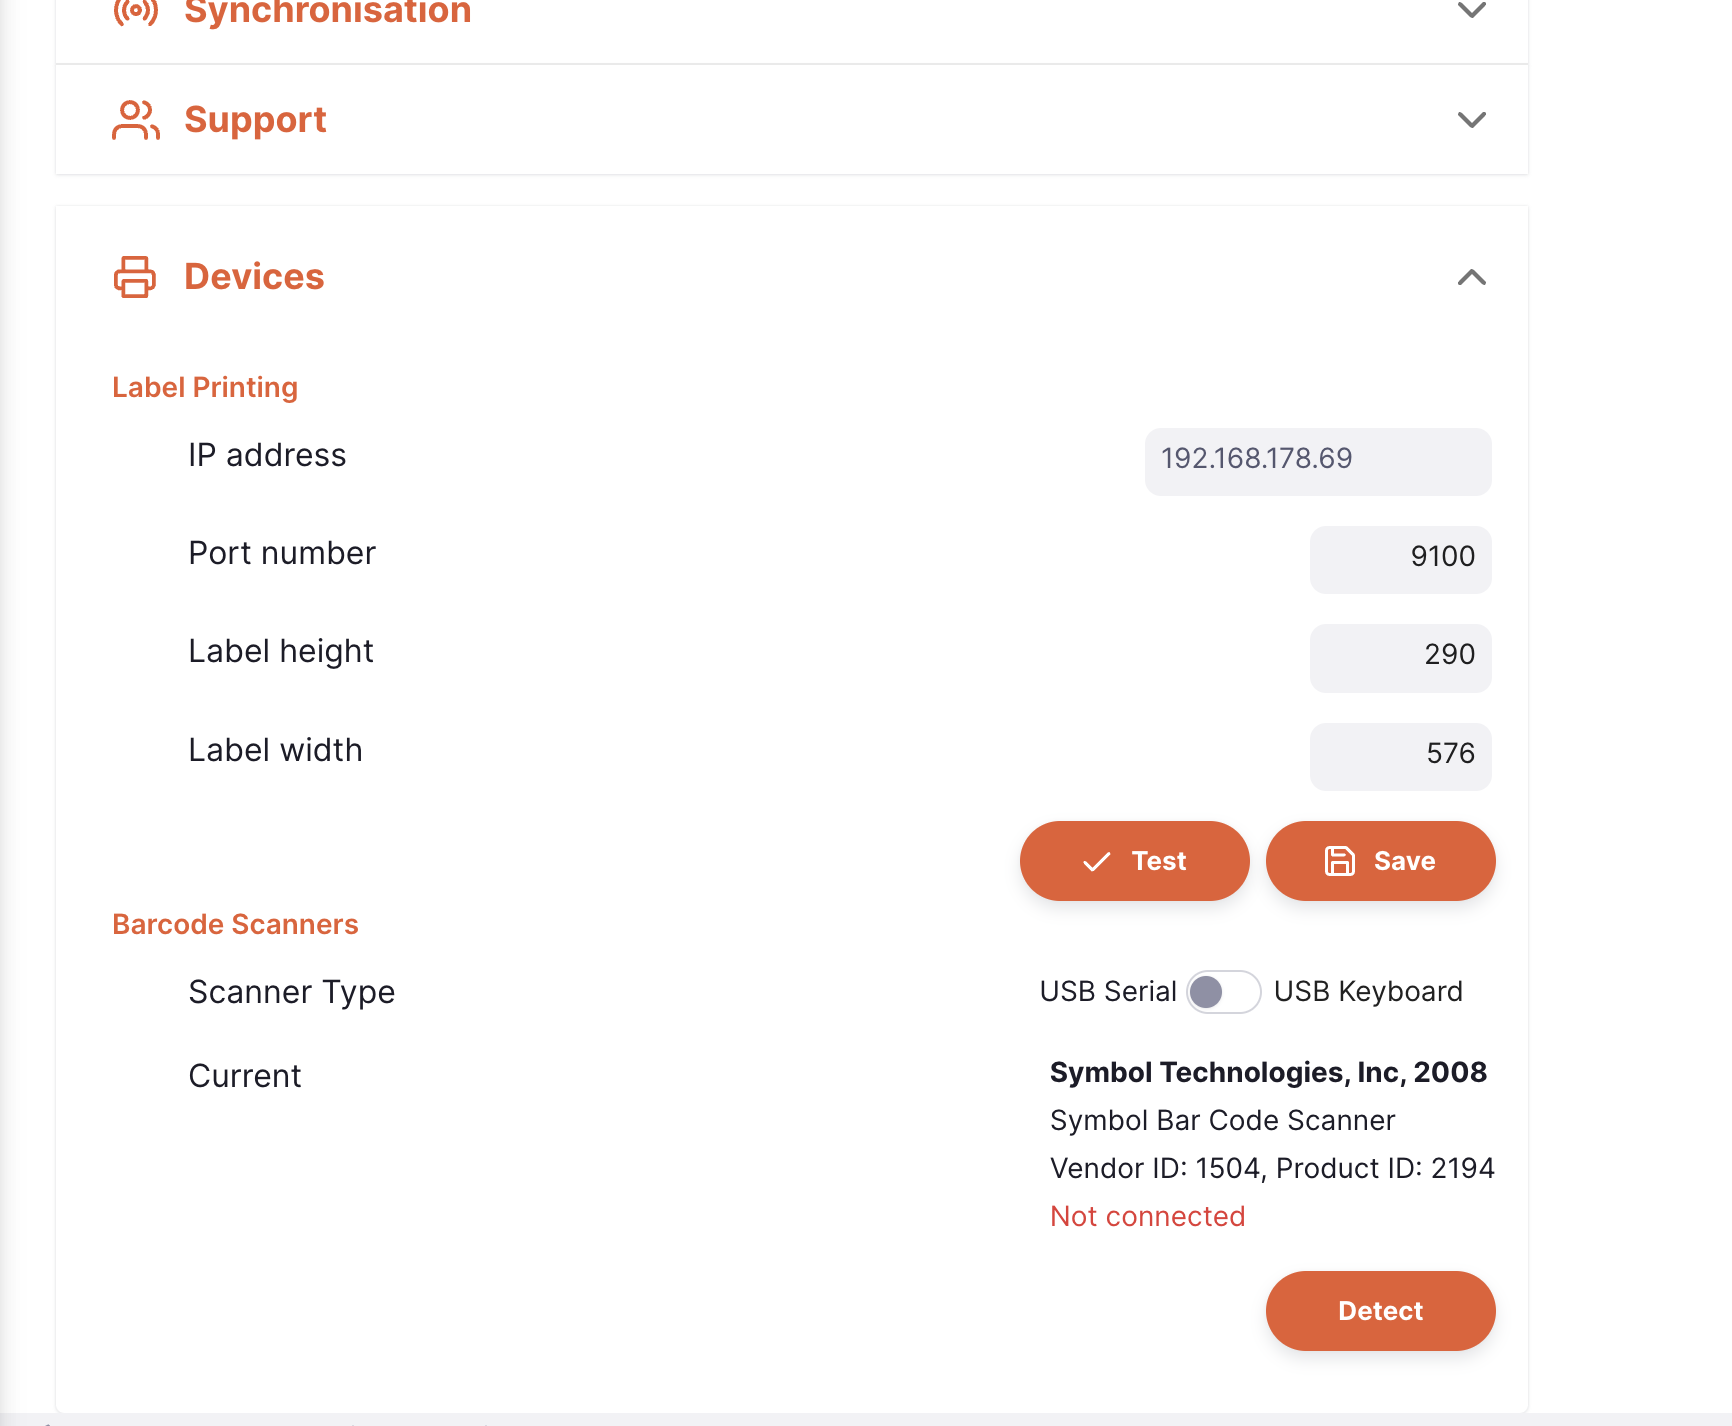
even though you have a scanner plugged in. The system needs to be instructed that a scanner is available - here's how this is done:
Click the Detect button. A barcode will be shown:
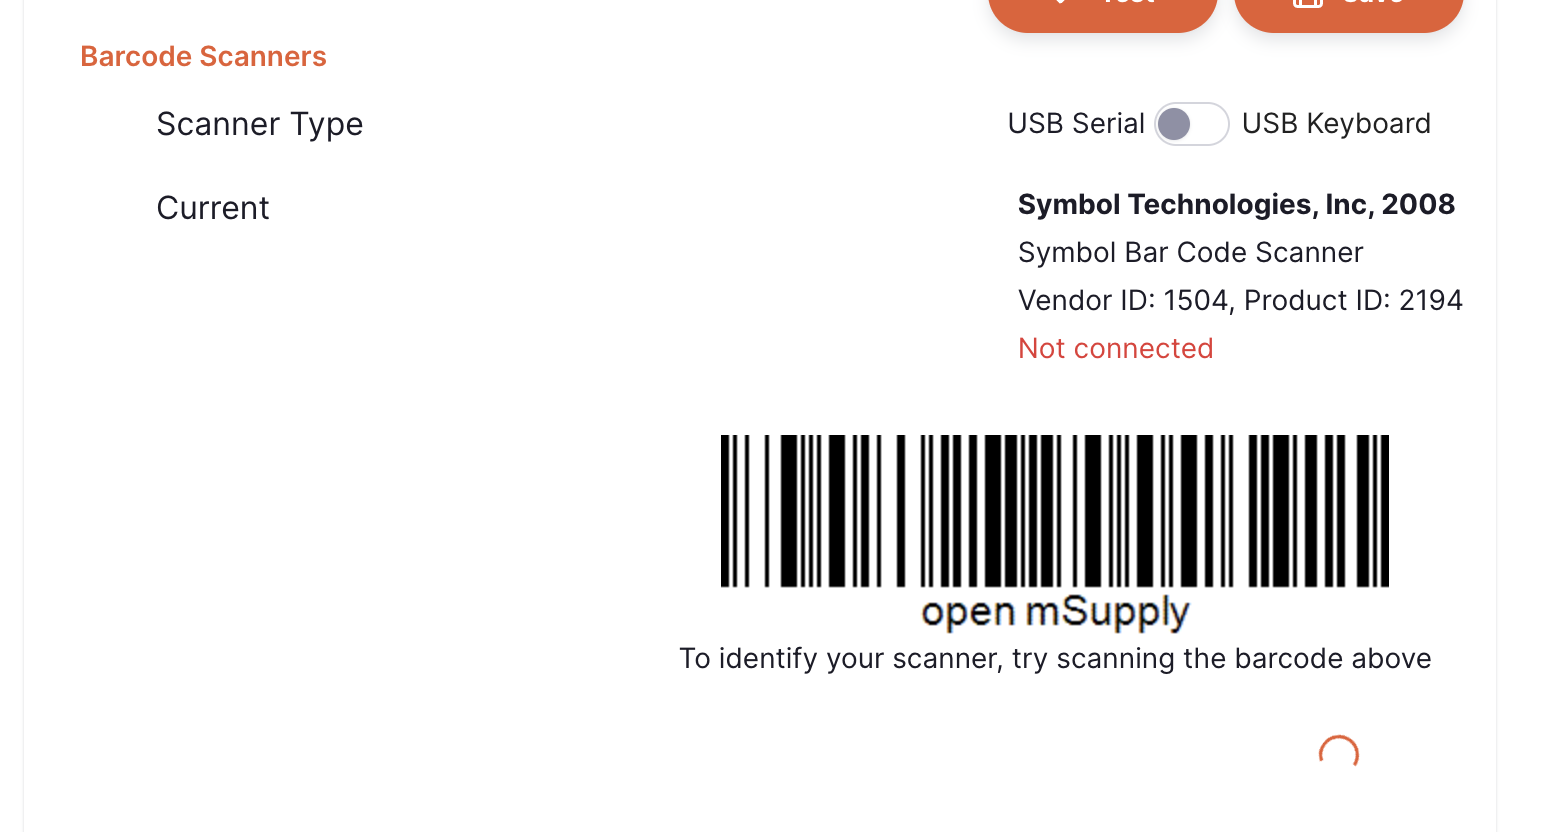
Scan the barcode with your barcode scanner (this may take a few attempts!). You will see the following notification when successful:

and then the message is changed to the following:
You are now able to use the barcode scanner!