Configuration
The configuration settings section allows you to configure custom data for the system. It is only available on the Open mSupply Central Server.
Viewing the configuration settings🔗
To view the configuration settings, go to Settings in the lower section of the navigation panel:

If you are on the Open mSupply Central Server, you will see this list of settings sections:
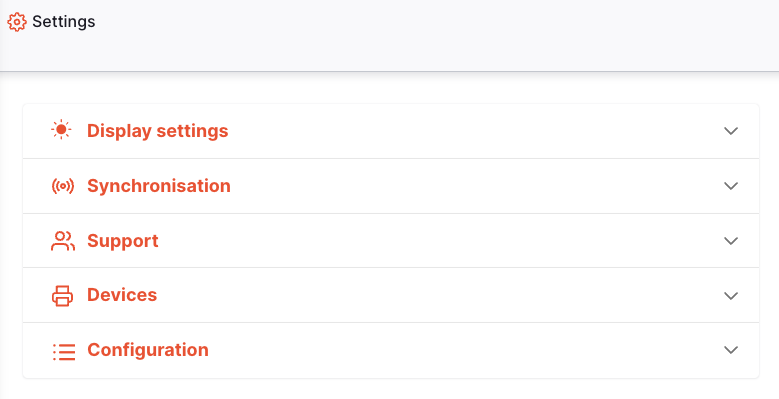
Click on the Configuration section to begin.
Store Configuration🔗
Initialise Gaps Module🔗
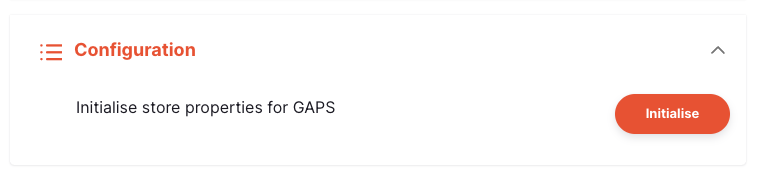
To operate fully, the GAPS module requires a number of configuration changes and data records to be added to the system. In order to make this process easier, all of the required general configuration steps have been automated for you.
In order to add the GAPS configuration changes, simply click the Initialise button, shown below:
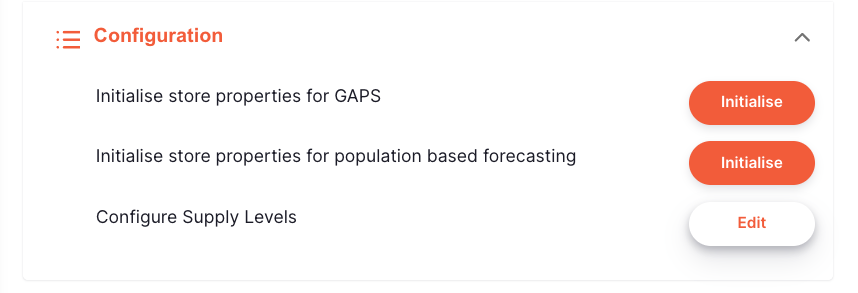
Once configured, the Initialise button will become disabled:

An Edit button will also appear in the footer, where you can edit the store properties for the store you are currently logged into:

Clicking that Edit button will open a new window, where you can view and edit your store properties.
You will see a number of property inputs in this window. If you don't, there may be something wrong with the configuration - please contact support to investigate.
Supply Level Property🔗
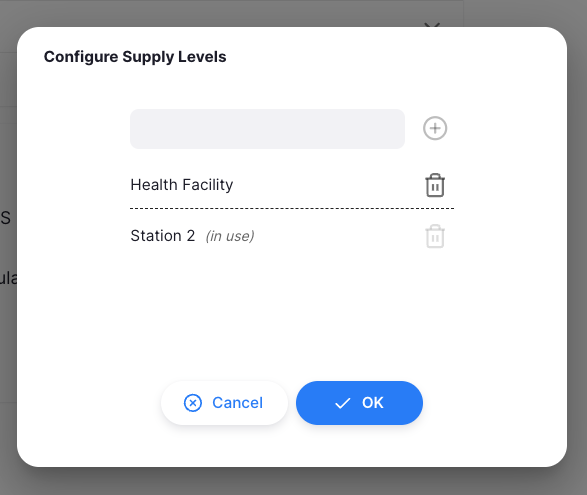
The supply level property can be assigned to a store to identify that store's position within the supply chain hierarchy (e.g. central, regional, facility, etc...). On this page you are able to define the number and name of the levels which are available.
To configure supply levels, click the edit button:
This opens a window where you can manage supply levels. If a supply level is already assigned to a store, you’ll see a notice and the delete button will be disabled.
To assign a supply level to a store either:
- Navigate to Manage > Stores and edit a store
- If on the central server, click the edit button in the app footer
Then, select the appropriate supply level from the dropdown:
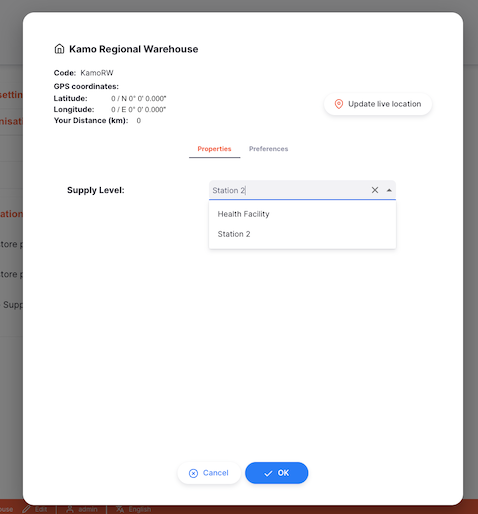
Click the Ok button to save your changes. If you do not have the Supply level property available, editing the properties (step 1 above) will create the required property. Remember to sync your remote site after editing!
Store preferences🔗
Open mSupply is using some of the mSupply central server store preferences.
Here's the list of preferences which are currently in use:
| Preference | Used by |
|---|---|
| Can manually link requisition to supplier invoice | Inbound shipments |
| Edit prescribed quantity on prescription | Prescriptions |
| Expiring items period | Used for some Reports |
| Include requisitions from this store in suppliers' remote authorisation process | Used in Internal Orders if using the remote authorisation module |
| Keep requisition lines with zero requested quantity on finalise | Requisitions |
| Monthly consumption look back period | Used for some Reports |
| Months lead time | Used for some Reports |
| Open mSupply: Uses program module | If using Patient Programs |
| Set pack to one for all visible items in this store | Will enable the 'pack to one' feature when receiving stock |
| Show extra fields in requisition | Displays additional fields for internal orders and requisitions |
| Stocktake frequency | Used for some Reports |
| Store: Able to issue in foreign currency | If using multiple currencies, this setting is used in multiple places |
| Threshold for overstock | Used for some Reports |
| Threshold for understock | Used for some Reports |
| Use consumption & stock from customers for internal orders | Internal Orders |
| Use remote authorisation for response requisitions | If using authorisation for Requisitions |
| mobile: Uses Vaccine Module | Cold chain |